Exploring the Eerie Setting of St. Amelia
The unsettling world of St. Amelia unfolds with quiet dread and mysterious details that invite curious players to explore its forgotten corners. In this part of the unfolding narrative, players assume the role of Simon, who finds himself entangled in a series of puzzling events after a mysterious prologue. The game’s atmosphere is crafted through deliberate soundscapes and dimly lit environments, encouraging an immersive exploration of abandoned streets and dilapidated houses. Players are set on a course that intertwines physical navigation with story-driven puzzles, demanding a careful observation of clues scattered throughout the city. The integration of puzzles and narrative lore creates an experience where every discovery is layered with suspense and hidden meaning, stirring both empathy and curiosity simultaneously.
Navigating the Desolate Streets and Alleys
As Simon ventures into the heart of St. Amelia, every step down its narrow alleys carries weight. After a cutscene in the prologue, a CRTV signal directs players towards a seemingly ordinary house on West Shore Lane. The journey is punctuated by encounters with unexpected hazards and seemingly benign architectural details that hide crucial narrative clues. From exploring a cluttered hallway equipped with a save point phone to encountering environmental objects like a working Flashlight, the game marries exploration with methodical problem-solving. Every alley, shopfront, and passage has been meticulously crafted to evoke a feeling of foreboding while making sure that the gameplay continues to captivate players those eager to piece together the intricate lore embedded in Simon’s journey.
The Mysterious CRTV Clues and Signal Guidance
Integral to the gameplay is Simon’s reliance on the CRTV device, which becomes a beacon amidst the creeping darkness. This device not only surfaces narrative clues but also defines the trajectory by showing signals like the one that points to West Shore Lane. The interplay between in-game technology and environmental storytelling propels players deeper into the plot. By tuning into this unconventional guide, players gather hints that help overcome various puzzles, making the CRTV an essential tool for progression. In addition to its narrative significance, the device adds a layer of interactivity that blurs the line between traditional game mechanics and a narrative-driven experience, thus heightening the tension and curiosity that underscores every step Simon takes within the haunted realm of St. Amelia.
Unraveling the Secrets Within Zoe’s House
Upon reaching a seemingly inconspicuous residence, players are introduced to the winding path of exploration that Zoe’s house offers. Inside, the environment is carefully detailed, showcasing items that foreshadow deeper mysteries. The discovery of a save phone in the hallway offers both a narrative pause and a means to safeguard progress, while part of the gameplay involves solving subtle puzzles within the house itself. Notably, two puzzles await Simon’s intervention; however, these cannot be completed in the first instance, adding layers to the unfolding mystery. The A home is far more than merely an address—it serves as a narrative hub, silently conveying backstory through scattered personal items and notes that hint at a once vibrant life, intertwining character development with the core gameplay mechanics.
Puzzle Challenges and Power Card Conundrums
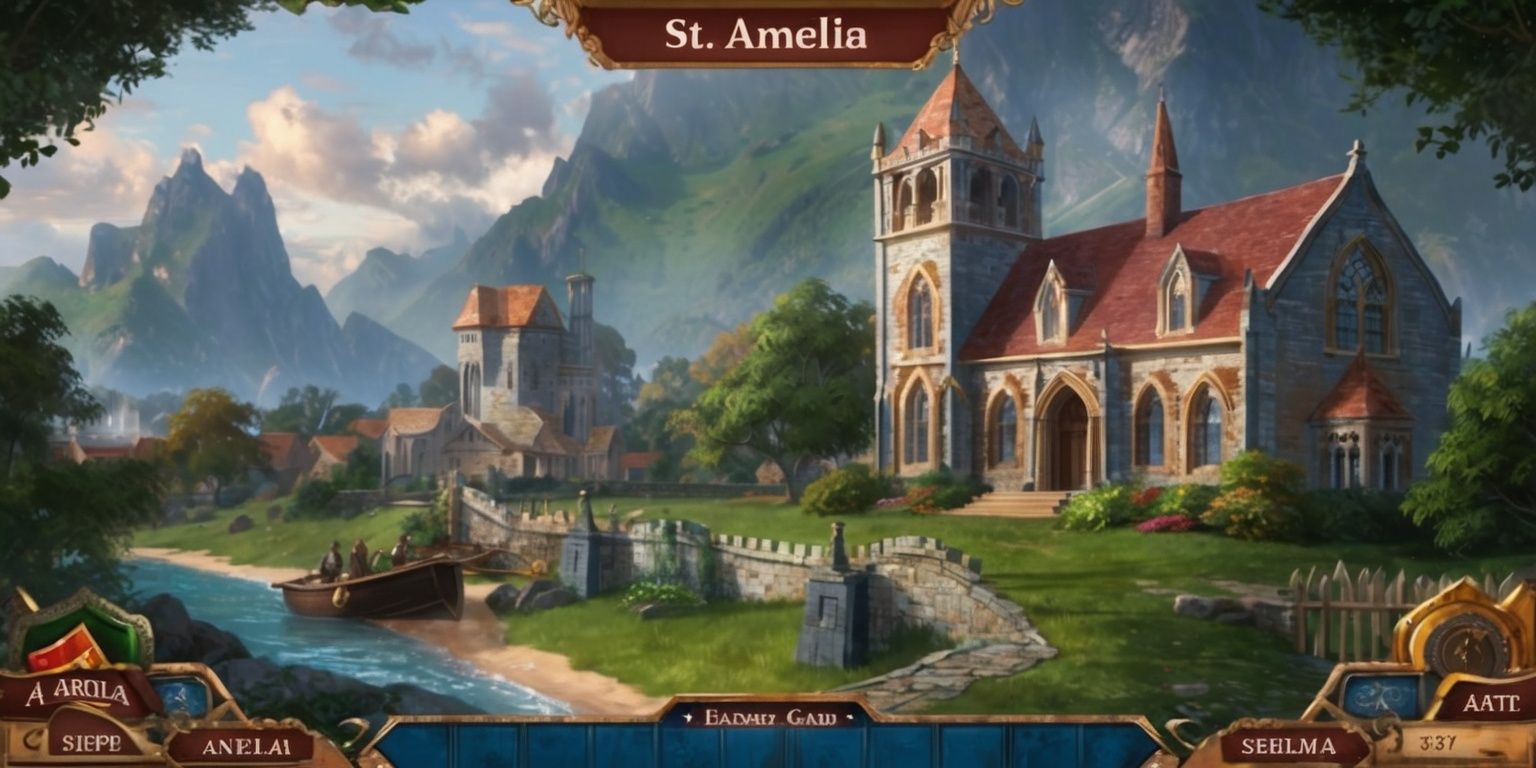
Moving beyond the personal sanctum of Zoe’s house, the journey leads to a more dynamic puzzle environment in the local Newsagents. Here, a locked front door and hidden entryways expand the gameplay into a balancing act of risk and clever navigation. Players must tactically maneuver around obstacles as well as evade lurking adversaries, gathering key items like the Plank and the crucial Newsagents Note. The next significant challenge involves the Prepaid Power Card that not only functions as narrative impetus but also as a key gameplay mechanic. This element introduces players to the concept of reactivating dormant in-game utilities—namely, Zoe’s electric meter via the Power Card machine. Such puzzles, rooted deeply in the storyline, require players to use critical thinking coupled with attentive exploration, Making sure that each phase brings its own set of rewards filled with suspense.
Deciphering the Organ Transport Box Mystery
Once the power is restored, Simon is met with the daunting challenge of decoding the Organ Transport Box. This puzzle is ingeniously intertwined with narrative elements that showcase both document discovery and email communication on the in-game PC. Investigating Zoe's messages, players uncover a hint that the code derives from elements within the ET code present on the Organ Transplant Card. By carefully extracting the first three digits and the last three digits from the indicated sequence, Simon inputs the numbers into the numerical locks tied to the mysterious organ box. The puzzle not only tests a player's logical dexterity but also bridges the gap between narrative exposition and interactive problem-solving, creating a gameplay experience that feels both cohesive and thematically resonant.
A Glimpse Inside the Shorefront Family Clinic
Simon’s journey soon brings him to the imposing Shorefront Family Clinic, a site where the narrative deepens through interactive discovery and subtle suspense. Access to the clinic hinges on Zoe’s Lanyard, a token that threads her personal story into the wider tapestry of secrets lurking within St. Amelia. The interior of the clinic is a well-designed interplay of hindrances and hints, where every object—from a locked weighing scales puzzle to personal documents like Zoe’s resignation letter—carries significant narrative weight. The environment is rendered with careful detail, from the medical paraphernalia scattered about to the ominous hum of unseen forces. This immersive space challenges players to draw connections between seemingly mundane items and the unfolding tragedy, blending solution-seeking with an exploration of a once-thriving institution caught in the grip of mysterious decay.
Decoding the Clinical Reception Puzzle
Progress within the Shorefront Family Clinic deepens as Simon approaches the Reception area, where a keypad locks in secrets behind its numeric code. Detailed clues left on a Clinic Post-It Note guide Simon in unlocking further mysteries inside. The careful design of this encounter emphasizes the importance of even the smallest fragments of information. Upon entering the Reception, players find practical resources such as a save phone and a narrative-rich answering machine message, alongside items that subtly connect to the broader storyline. This setting challenges players to remain vigilant, carefully balancing puzzle-solving with exploration. The interaction within the clinic is more than a simple key-and-door exercise; it represents a well-crafted blend of narrative detail and engaging gameplay that slowly reveals the hidden layers of a community in distress.
Unlocking Mysteries Within the Pharmacy
A critical segment of Simon’s exploration takes him to the Pharmacy, a location where locked doors and coded lockers set the stage for one of the more involved puzzles. Gaining entry involves the clever use of a Scalpel, blending combat readiness with strategic problem-solving. Inside the Pharmacy, the environment feels claustrophobic and layered with modern, albeit decaying, details—a save phone, a radio behind the counter, and a conspicuous four-digit locked locker. The CRTV device returns as a reliable informant; using its signal, players collect vital clues from posters strategically displayed around the premises. The interplay of these hints eventually pieces together the locker code, granting access to a critical Prescription Dosage Error Note. This document, in turn, promises to elucidate further connections within the broader mystery, making every discovery a pivotal element of Simon’s intricate journey.
Venturing Through Farrow Street and Jessica’s Domain
The journey soon shifts to the quieter, yet equally enigmatic, corridors of Farrow Street. Simon must navigate through the decaying beauty of St. Amelia Park, where the use of the Scalpel once again becomes essential in unlocking concealed paths. Among the park’s many hidden gems lie Strange Postcards, each meticulously placed to enrich the game’s lore. The route to Jessica’s house is fraught with obstacles: from locked gates to narrow passages, every detail in the environment seems purposefully set to test the player’s perseverance. Upon finding Jessica’s house, Simon encounters multiple layers of domestic mystery, revealing hidden rooms, backdoors, and inconspicuous items—a First Aid Kit discreetly stored away and a mysterious blue lockbox. Each element encountered on Farrow Street intricately meshes with the narrative fabric of a town steeped in secrets and despair.
Solving the Intricate Weighing Scales Puzzle
The narrative thread continues to twist as Simon is called back to the Shorefront Family Clinic to confront the weighing scales puzzle, a device laden with both literal and metaphorical significance in Zoe’s story. The puzzle requires careful placement of three personal objects: Zoe’s Lanyard, the elusive Stethoscope, and the Prescription Dosage Error document. Each object must be arranged in a specific order correlated to Zoe’s self-criticisms documented in her poignant resignation letter. The left-to-right sequence not only provides a numerical challenge but also metaphorically speaks to the weight of personal guilt and redemption interwoven through the storyline. This gameplay sequence is both intellectually engaging and emotionally charged, requiring acute attention to detail and Cultivating a profound bond between the player and the… narrative legacy of the characters.