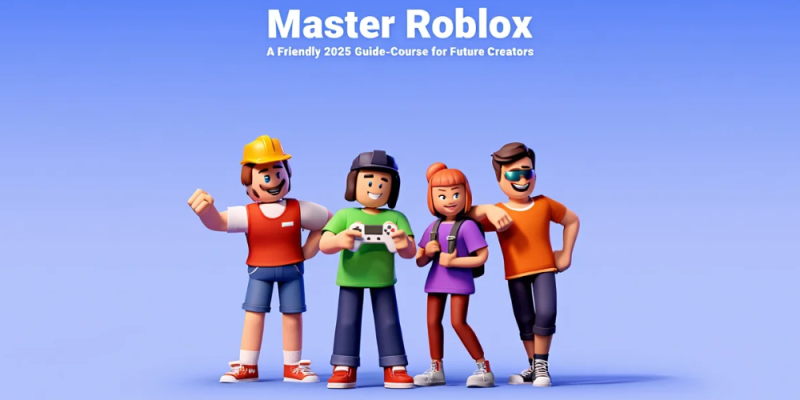
Roblox is more than a game—it is a universe of games, a social hang-out, and a no-cost ticket into real game development. Millions of players turn into creators every month, and some of them even turn their weekend projects into full-time jobs. Sounds exciting? In this guided course you will jump from curious player to confident maker without drowning in jargon or theory.
Across the next 1,100 words you will learn how to set up Roblox Studio, build a world, add Lua code, earn Robux, and keep everything safe. Each step is short, hands-on, and tuned for an English B1-B2 level, so you can begin today—even if you have never touched a line of code before.
Main Guide
1. What Is Roblox and Why Learn It?
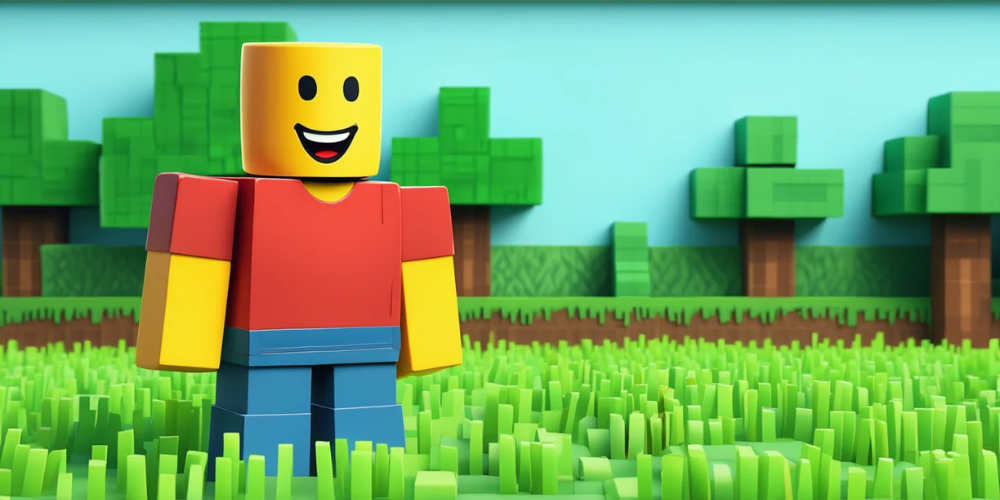
Roblox is a free platform that hosts more than 40 million user-made experiences. Every experience runs on the same engine and uses the Lua programming language. The toolset is powerful yet friendly, which is why Roblox Studio is a perfect first IDE (Integrated Development Environment) for beginners.
Learning Roblox means learning:
- Basic 3D modeling and level design
- Core programming concepts (variables, events, loops)
- Game economy and marketing
- Online team collaboration
These skills transfer easily to other engines like Unity or Unreal, so time spent here is never wasted.
2. Setting Up Your Roblox Account and Studio
1. Go to roblox.com, click Sign Up, and pick a unique username. Avoid personal info inside the name.
2. Confirm your email. This unlocks extra security and lets you recover passwords.
3. Download Roblox Studio from the “Create” tab. Install it like any normal desktop app. Both Windows and macOS are supported.
4. Turn on 2-Step Verification under Settings → Security. You will thank yourself later.
3. Touring the Interface
When Roblox Studio opens, choose “Baseplate” for a clean start. Key panels:
- Explorer: lists every object in your game.
- Properties: shows editable settings for the selected object.
- Viewport: the 3D scene where you build.
- Toolbox: library of free models, textures, and audio.
- Output: prints errors or messages from your scripts.
Spend five minutes clicking buttons, dragging parts, and pressing Play. Nothing breaks; everything can be undone with Ctrl + Z.
4. Building Your First World
Roblox objects are called “Parts.” The most common are Block, Sphere, and Cylinder.
Create a simple obby (obstacle course):
- Insert five Blocks via Model → Part.
- Use Scale to resize each block into a platform.
- Set Color in the Properties panel—bright colors help players read distance.
- Change Material to Neon for a glowing effect.
- Anchor each platform (tick the Anchor box) so gravity does not pull them down.
Press Play. Your avatar spawns. Jump from one platform to another. Congratulations, you made a playable level in less than 15 minutes!
5. Lua Scripting Essentials
Lua is loved for its clean syntax. Below are the first three patterns you need.
a) Variables
local jumpPower = 100
Stores data you can reuse later.
b) Functions
local function onTouched(hit)
    hit.Parent.Humanoid.JumpPower = jumpPower
end
Bundles logic you can call many times.
c) Events
script.Parent.Touched:Connect(onTouched)
Runs code when something happens—in this case, when a player touches the part.
Place a Script inside one of your platforms, paste the code, and test. Any player touching that block will leap sky-high. You just mixed design and code!
6. Game Design Principles for Roblox
You do not need a degree to make fun games, but you do need structure. Keep these Roblox-specific rules in mind:
- Session Length: Mobile players often stay for 5–10 minutes. Make sure core fun appears inside that window.
- Early Goal: Within the first 30 seconds, show what the player should do—reach a checkpoint, collect coins, solve a puzzle.
- Difficulty Curve: Start easy, rise gently, and add safe zones between hard sections.
- Social Loops: Add leaderboards, friend bonuses, or co-op mechanics. Shared progress keeps people inside your game.
7. Testing and Publishing
Before you launch, test on different devices:
- File → Play Solo (desktop)
- Test → Device → Phone
- Test → Device → Tablet
Fix UI overlap and adjust touch controls if needed.
To publish, click File → Publish to Roblox. Fill in title, icons, and genre. Mark “Public” when you are ready to open the gates. Your game now has a unique URL you can share with friends or on social media.
8. Monetization and the Roblox Economy
Robux is the virtual currency. You can earn it in three main ways:
- Game Passes: one-time purchase that unlocks special powers
- Developer Products: repeatable buys such as extra lives
- Premium Payouts: small share of Robux when Roblox Premium users spend time in your game
Set fair prices. A popular range is 50–200 Robux for cosmetic items and 25 Robux for entry-level boosts. Study top games, match their pricing, and always offer non-pay paths so free players feel respected.
Once you reach 100,000 Robux (~$350), you can exchange them for real money via DevEx, pending age and tax checks.
9. Community, Collaboration, and Events
Roblox thrives on teamwork. You can invite collaborators under Game Settings → Permissions. Assign roles like Builder, Scripter, UI Artist.
Join developer forums, Discord servers, or the official Roblox DevForum to get feedback. Many big updates, such as Bloxy Awards or seasonal quests, are announced there first.
Take part in platform events (Egg Hunts, Halloween hunts). They push large traffic toward new games that match the theme.

10. Safety and Parental Controls
Roblox filters chat, but extra steps help:
- Enable Account PIN so settings cannot change without a code.
- Set Allowed Experiences by age in the Parental Controls tab.
- Use the Block and Report buttons for any harassment.
If you are a young developer, share your revenue plans with parents or guardians. Roblox requires ID verification for DevEx, and adult guidance speeds approval.
11. Next Steps and Learning Resources
Your progress path could look like this:
- Week 1: Build three mini-games (obby, speed run, tycoon) to explore different templates.
- Week 2: Watch the official Creator Series on YouTube for deeper Lua tutorials.
- Week 3: Join the Beginner Game Jam on DevForum. The deadline pressure is a great teacher.
- Week 4+: Monetize, market, and polish your favorite project.
Extra tools:
- Rojo – sync Studio with external code editors such as VS Code.
- Moon Animator – advanced character animation plugin.
- GIMP or Photopea – free 2D art editors for icons and thumbnails.
Conclusion: Your Turn to Press Play
Roblox lowers every barrier between dream and finished game. You installed the tools, built a tiny obby, scripted a sky-high jump, learned design rules, tested on phones, set up monetization, and explored safety and community tips—all inside one guide. The next masterpiece now depends only on your practice.
Helpful reminders:
- Save incremental versions; Studio’s version history is a lifesaver.
- Keep scripts small; one script per feature avoids confusion.
- Watch player behavior in Analytics; numbers reveal what words hide.
- Stay curious—updates roll out monthly, and early adopters stand out.
Good luck, and see you on the front page of Discover!


Leave a comment
Your comment is awaiting moderation. We save your draft here
0 Comments