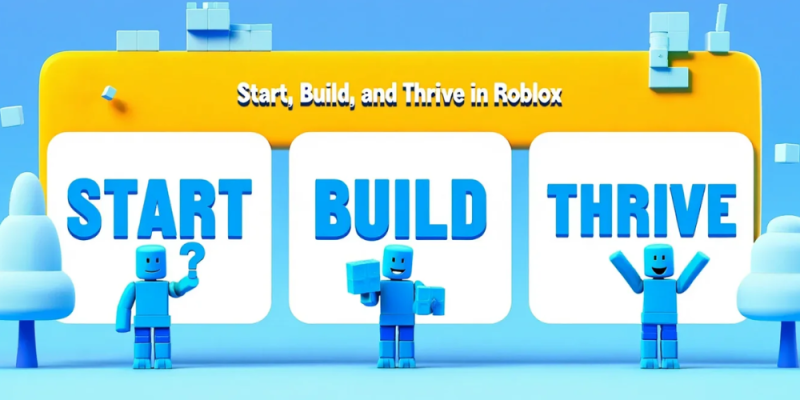
Picture one platform where you can explore roller-coasters, design your own city, survive a zombie wave, and earn real money—without ever leaving the same launcher. That’s Roblox. More than 70 million people log in every day, and many of them turn from curious players into full-blown creators. If you have ever dreamed of making games or just want a fresh world to hang out with friends, Roblox is your low-cost, no-stress entry ticket.
This guide-course walks you from your very first click all the way to publishing (and even monetizing) your own game. Each chapter is bite-sized, written in plain English, and packed with hands-on steps you can finish in one sitting. Ready? Let’s jump in.
Main Guide
1. Setting Up Your Roblox Account
Before you can play or create, you need a free account.
- Visit roblox.com and fill in birthday, username, password, and gender (optional).
- Choose a username that is easy to spell; you can’t change it for free later.
- Verify your email and add a parent’s email if you are under 13 for extra recovery safety.
- Enable 2-step verification in Settings → Security. This prevents account theft.
After login, you land on the Home tab. Here you will see three key panels: Friends, Continue, and Discover. The Discover page is where the fun begins.
2. Finding and Playing Games Like a Pro
Roblox experiences (the official term for “games”) come in hundreds of genres—simulators, obbies (obstacle courses), role-play, FPS, and more. To locate the best ones:
- Click Discover → Sort by Top Rated to avoid low-quality clones.
- Use the search bar with genre keywords such as “tycoon,” “survival,” or “horror.”
- Hover over an experience to read its active players, likes, and server size.
Once inside a game, basic controls follow classic PC rules—WASD to move, Space to jump, Esc for menu. On mobile, a virtual joystick appears. If the camera feels odd, open Settings → Camera Mode and switch between Classic and Follow until comfortable.
3. Staying Safe and Keeping Parents Happy
Roblox invests heavy effort in moderation, but smart settings give you extra peace of mind:
- Turn on Account Restrictions (Settings → Privacy) for under-13 users. This blocks private messages and invites.
- Use the Report button (flag icon) on chat or player list to alert moderators about bullying or scams.
- Never click links to external websites inside chat. Most scams begin there.
- Trade only through the official Roblox Trading system, never by “trust trades.”
4. Installing and Navigating Roblox Studio
Playing is fun, but creation is where Roblox truly shines. Roblox Studio is the free, professional-grade editor every developer uses.
- Click Create on the website and press Start Creating. The installer downloads automatically.
- Log in with the same username; your projects stay tied to your account.
- Pick a template (Baseplate is the clean slate; Obby and Racing include pre-built assets).
The interface has four main zones:
- Explorer Panel – shows every object in the world as a tree.
- Properties Panel – tweak color, size, physics for the selected object.
- Viewport – the 3D scene where you drag, drop, and build.
- Tool Ribbon – top bar with Move, Scale, Rotate, Play-test.
Spend 15 minutes dragging blocks, scaling them, and pressing Play to test. This “sandbox” habit saves hours of future headaches.
5. Building Your First Obby in 20 Minutes
An obstacle course (obby) is the Hello World of Roblox development.
- Select the Obby template to auto-load basic stages.
- Duplicate a stage: right-click a platform in Explorer → Duplicate.
- Use Move and Rotate tools to place the new platform farther away.
- Add danger: Insert → Part → Resize to a thin plate. In Properties set Color to red and CanCollide ON, then add Touch → KillScript from Toolbox for lava effect.
- Press Play to test. Adjust gaps until they feel challenging but fair.
- Save to cloud: File → Publish to Roblox as… Give it an icon and a catchy description.
6. Lua Scripting Essentials
Roblox games run on Lua, a lightweight coding language. You don’t need to be a programmer to start, but knowing the basics lets you move from templates to unique mechanics.
- Variables:
local speed = 16 - Functions:
function onTouch(hit) ... end - Events:
part.Touched:Connect(onTouch)
Hands-on task: make a speed pad.
- Insert → Part, make it neon green.
- Right-click the part → Insert Object → Script.
- Paste:
local boost = 50
script.Parent.Touched:Connect(function(hit)
  local human = hit.Parent:FindFirstChild("Humanoid")
  if human then
    human.WalkSpeed = boost
    wait(5)
    human.WalkSpeed = 16
  end
end)
Press Play. When your avatar steps on the pad, it rockets forward, then resets. Congrats—you just wrote a power-up!
7. Polishing: UI, Sounds, and Lighting
A game’s look and feel determines retention.
- User Interface: Insert → ScreenGui → TextLabel for stage counters. Keep fonts size-responsive.
- Sounds: Drag audio from Toolbox under a part, set Looped true for ambience. Lower volume to 0.3 to avoid ear fatigue.
- Lighting: Lighting service → Ambient and OutdoorAmbient colors. Warm tones make evening vibes; cool blues give sci-fi mood.
8. Publishing, Monetizing, and Earning Robux
Roblox allows creators to make real money through Robux, which can later be converted to USD if you are 13+ and part of the DevEx program.
- Game Passes: One-time purchases—extra speed, special sword, premium levels.
- Developer Products: Repeatable buys (coins, boosts).
- Ads Inside Roblox: Use Sponsored Ads or Banner Ads to pull players to your game. Even 500 Robux can bump visibility.
- Premium Payouts: If Roblox Premium subscribers spend time in your game, you receive a slice of their monthly fee automatically.
Start simple: create a 25 Robux Game Pass that unlocks a golden trail effect. Iterate after you see feedback.
9. Growing Your Community
No game succeeds in a vacuum.
- Open a Developer Forum thread for feedback and updates.
- Create a Roblox Group. Offer rank titles like “Tester,” “Builder,” and “VIP.”
- Use social media—TikTok clips of funny fails or YouTube devlogs attract players fast.
- Run weekend events: double XP, limited exclusive badge. Scarcity boosts return visits.
10. Leveling Up Your Skills
After your first project, move on to deeper learning paths:
- Pathfinding AI: Let NPCs chase players using
PathfindingService. - Data Stores: Save player stats in the cloud.
- Roblox APIs: Use MessagingService for cross-server events.
- Model Optimization: Reduce part count to improve mobile FPS.
Free resources: Roblox Developer Hub, AlvinBlox YouTube channel, and the official Discord servers for scripting help.
Conclusion & Quick Tips
Roblox is more than a game launcher; it’s a full creative universe where you can learn coding, art, marketing, and community management—all in one place. Start by playing popular experiences to understand what works, then dive into Studio, build small, test often, and listen to your players. In a few months you could have a polished game earning Robux while you sleep.
Final power tips:
- Keep projects under 5 MB until you master optimization.
- Join monthly Creator Challenges for free avatar items and big exposure.
- Backup your places with File → Save to File before major edits.
- Stay curious—Roblox updates every Wednesday, and new features often open fresh money-making angles.
Now gear up, press that Play button, and let your imagination turn into playable worlds. See you on the front page!